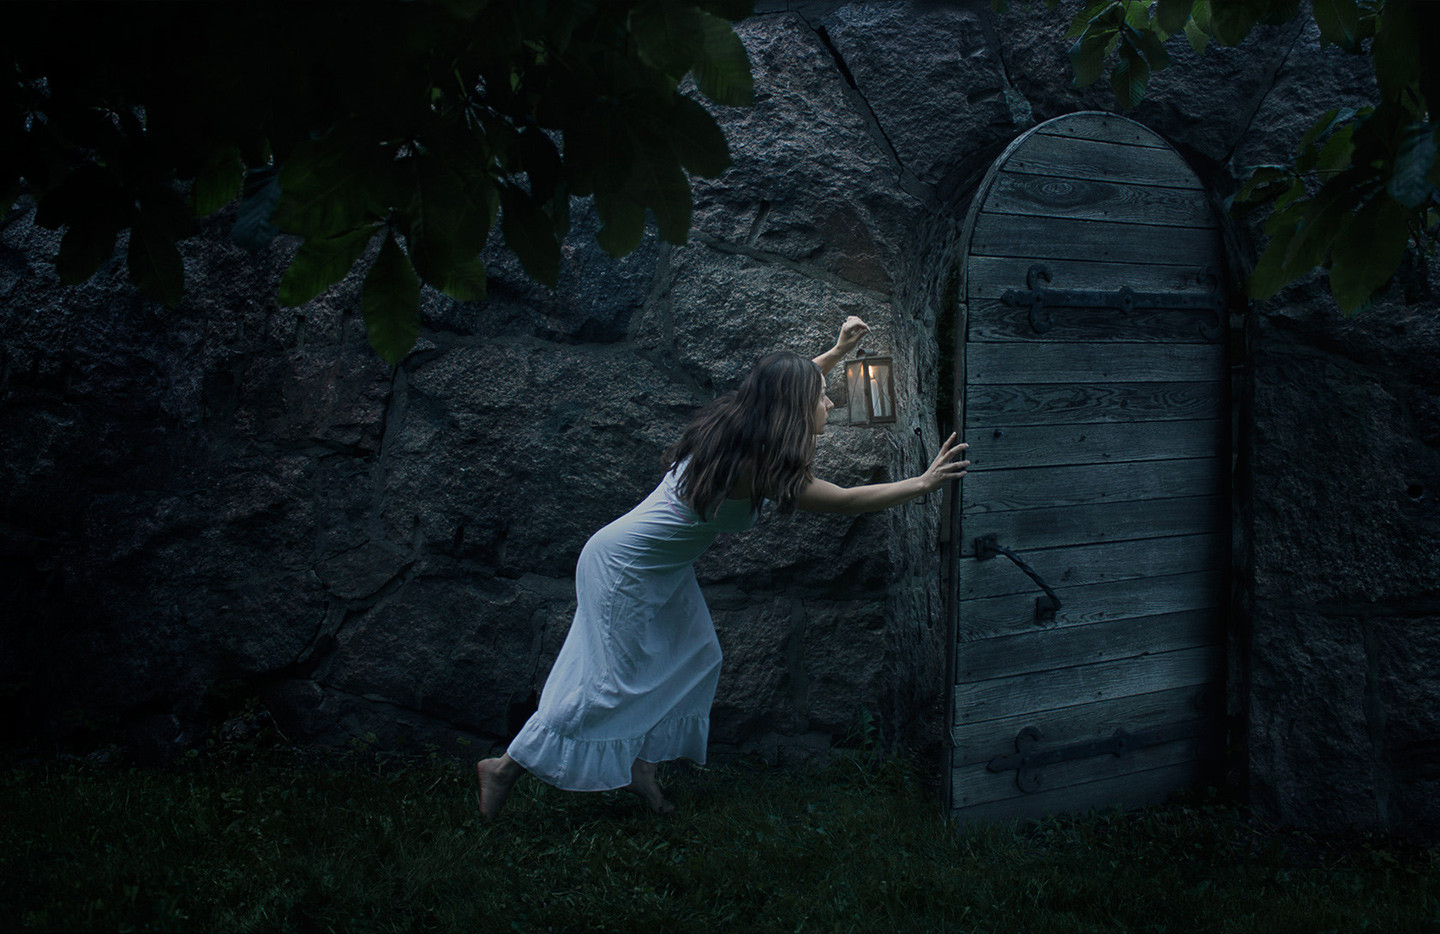
“The girl and the secret within” – This video is a Before & After as well as an accelerated showcase of my post-processing of several files to a finished conceptual image in Photoshop.
The world can be so much more than what first meets the eye…
This week we are excited to start the fashion weeks at Fotoskolan, a project where we are working with fashion photographer Per Zennström as project leader/creative director. The assignment is from JO! Models and we are to create a still image and video campaign at the prospect of the upcoming relaunch and rebranding of the company.
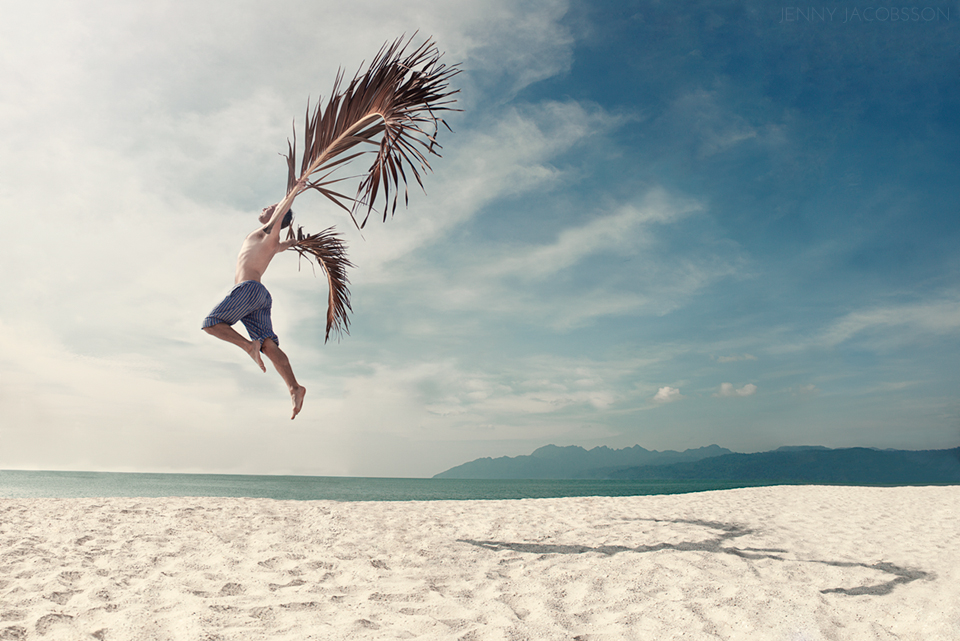
2011’s Christmas and New Year we took a trip around the world to something very very different from a windy and dark Gothenburg. 17 days in Malaysia were just what we needed to thaw our frozen winter spirits and to relax, just enjoy life, each other’s company, and experience new things everyday. Of course this beautiful country offered many opportunities to pop out your camera and shoot things that you normally don’t find back home. The image above, “Man of passage” was one of those. And I just want to share with you a few behind-the-scenes shots around the session.
This gorgeous view is of course from the plane when going in for landing over the archipelago around Langkawi. Langkawi is actually made up of 99 islands on Malaysia’s west coast where the bigger Pulau Langkawi is the main island.
The beaches were covered with white sand and this spot is part of the beach lining the wonderful resort we were staying at. During daytime it got really hot, but even so I asked Andreas veeeery nicely if we could go and do a shoot that I had been thinking about for a week when constantly watching palm leaves lying around. And of course he approved :). I promise you, after 3 minutes on the hot beach sweat was pouring down our spines (even though we prepared by taking a long soak in the pool beforehand…) so the session was actually really quick and effective, maybe 10 minutes in total. Counting from when the other tourists (some more tanned than others) had left the crime scene… Luckily I had a very planned image in my head and I knew exactly how I wanted Andreas to hold the “wings” and what pose I wanted his body to have.
Andreas did an excellent job, giving me exactly what I wanted. Although… the jumping was not ALWAYS graceful…
…but we surely can blame that surprisingly heavy palm leaf that were the size of me! That’s our resort in the background.
Afterwards Andreas got some well deserved rest in the shade. Oh how I miss that place…
And finally, a goodbye from the partners in crime. I think I’ve never looked more beautiful 🙂 Again, keep your eyes open for my planned upcoming blog post with a bit more processed shots from both the island as well as Kuala Lumpur. Until next time, enjoy life!
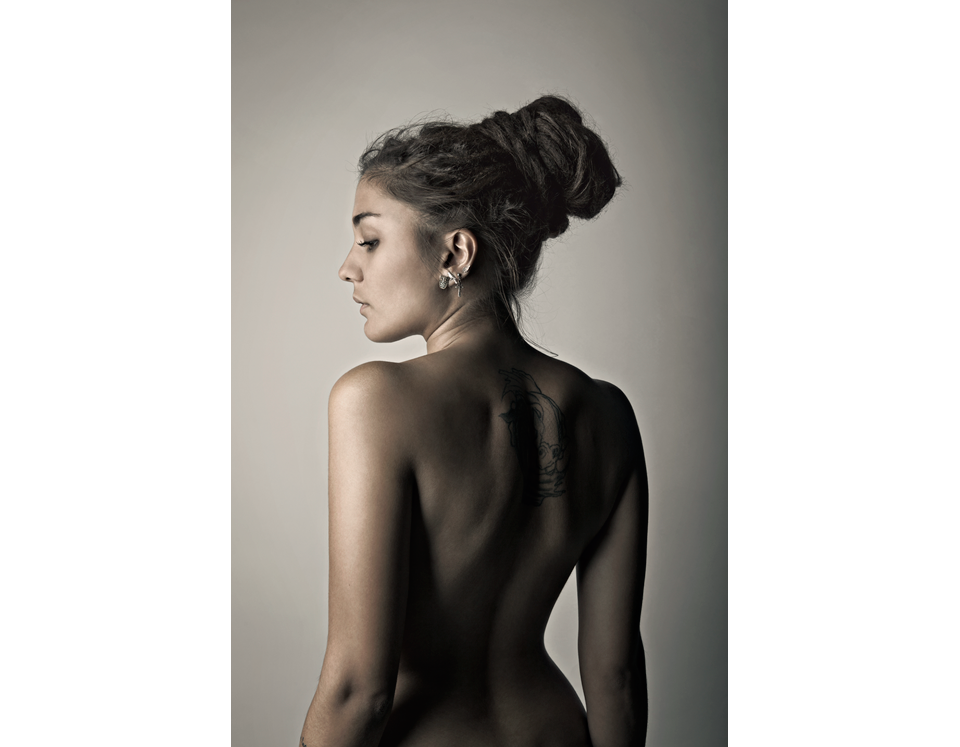
The portrait “Rania” above I created in a photo studio project a few weeks into our first term at Fotoskolan i Göteborg. It began with a studio workshop at DDR GBG that are run by Magnus Cimmerbeck and Magnus Johansson here in Göteborg (Gothenburg). Magnus & Magnus are two awesome and talented dudes who were nothing but nice, fun, and helpful and they both made the day a total blast. Starting with several cups of coffee, buns and cakes, we had a long and good discussion about the lives of photographers, how to make it in a tough business, and M&M gave us tips and tricks and their point of view…
We were amazed by their studio/office space and I must say that it was close to exactly how I would like it myself… Also, we got the opportunity to practice our studio skills with a lot of good help from M&M.
We were given a task to choose an image that we found interesting and that was shot in a studio, and later in the school studio try to replicate the lighting that were used in that shot by shooting a model of our choice. I knew straight away that I wanted to photograph my classmate Rania who is not only an awesome girl but also has an amazing look that I find very interesting. And she chose to shoot me, and if you want to have a look at the result here it is over at her blog: “Jenny” and also at “Jenny again”. We had lots of fun in the studio. Until we managed to break one of the lamps…
A week later M&M came to our school to review what we had done and to discuss our work, comparing the original photo with our own version. Another great day with a lot of good laughs.
Johan Ekström who is awesome at lighting and photoshop had created a shot that caused the class to break out in chattering and turbulence and everyone wanted to study the photo up close.
The absolute favorite of mine was done by my classmate Helena below who recreated one of the famous portraits of Tyra Banks from Italian Vogue, with another classmate as a model… a guy called Morten. And she had done it so beautifully. I fell in love with the portrait straight away. Click the image to see it bigger.
Kudos to Magnus & Magnus for giving so much of their knowledge and making the studio workshop so much fun. Check out their work at DDR GBG.
MY TIP FOR FURTHER READING If you like this portrait of Rania with her gorgeous dreads, don’t miss the conceptual portrait ‘She walks with colours’ where Rania lets them out and truly got to be in her true element in this medieval/fantasy image!
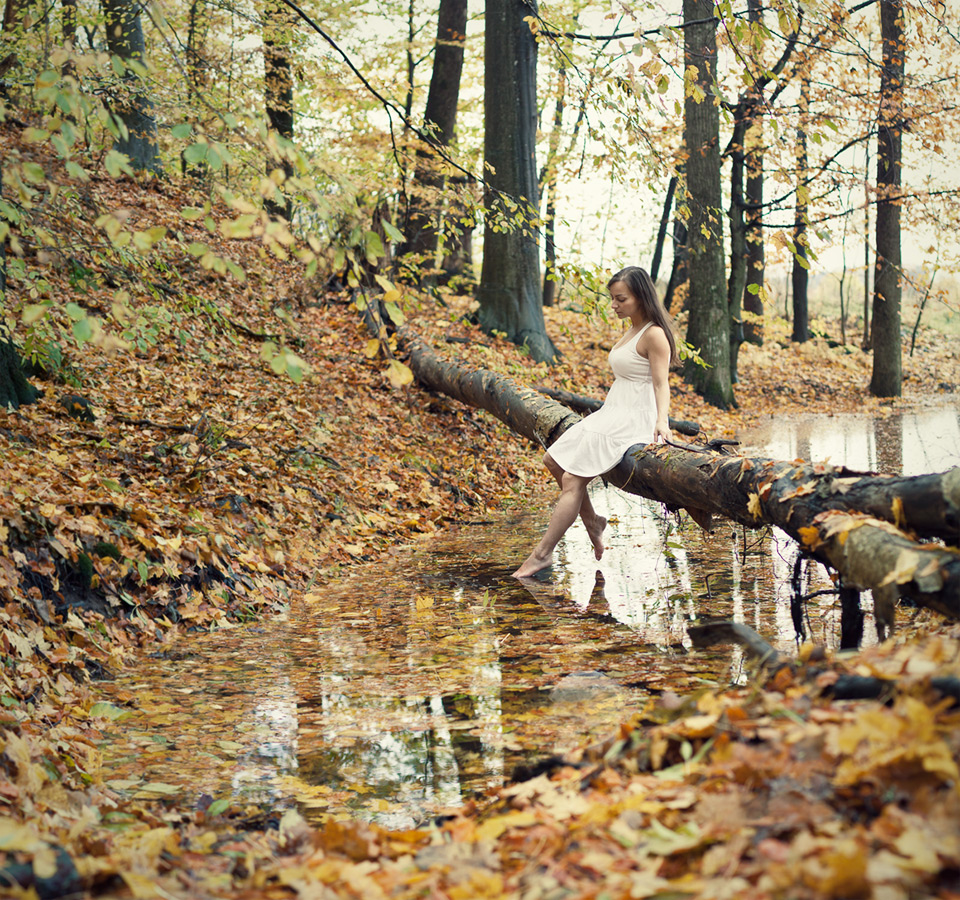
Here are a few behind-the-scenes images from the making of “The Reflection of Autumn”.
October 30th… a cool autumn breeze rattles leaves fallen to the ground. The world is a mixture of red and yellow. A forest pool of water is quietly hiding secrets of the summer past. Sunken down into the cold depths. There are two persons on the bank of the pool, a boy and a girl. They look from the mystified water at each other and a question is lingering in the air.
Would anyone freely wade out to that log on that pool bottom, barefooted, bare legs against the icy water?
The answer to the question… is yes! Just bite the bullet and get in 🙂
The first attempt of trying to raise myself up on to the log from the water was in vain. The feet got sucked down into the bottom. So up I went up on solid ground again and approached the log from above. Playing leapfrog. The idea of getting on to the moist log without getting the dress and myself all dirty just had to be forgotten.
After a rather nice and actually not so cold shoot on the log, it was time to go in again. At least I got to play around a bit in the water, trying to splash Andreas who was assisting on land…
And I promise you, it was rather nice to get dressed again. And it took some time before I could feel my feet again. I hope you enjoy the final result of this shoot 🙂
Following inspiration overseas – Rosie Hardy workshop
When I first bought my DSLR (and we solemnly named it Cameron…) I was intrigued by what I could create with it. And I was amazed of what a difference the change from compact did to my photos. Out of curiousity I visited the Flickr Explore page that I’d heard would be a great source for looking at what others create with their cameras. It took me about 10 minutes of browsing, and then I stumbled upon it. There was this girl, looking at me through my screen, and she was within another world. There was so much about this image that caught me, the illusionary setting, the well balanced mood, the creative playfullness, that all got me to continue looking through that photostream. What I had found was my first inspirational photographer. Her name is Rosie Hardy.
As I begun to develop my knowledge within the art form and started up projects to move forward, I discovered many talented photographers out there that impressed and inspired. But I tended to always find my way back to Rosie’s work, noticing that it always gave me a huge boost of inspiration. Watching her improve with every piece she created was fascinating and pushed me to try to improve myself.
And then, last summer, a wonderful opportunity appeared. Rosie put up workshops in London! How could I miss this chance to meet one of my fav photographers in person, and to get some inside tips on how she manages to create her own unique little worlds? Of course, I couldn’t!
The day started with meeting up with Rosie at the cosy studio rented for us. Sitting down on a cool loft, with a variety of sofas and armchairs, all workshopers introduced themselves to get to know each other better.
Rosie continued to tell a bit more about herself, giving us some insights into what has pushed her and what she had done to continue growing as a photographer. Showing us her portfolio Rosie gave us tips and tricks on how she had been performing the shots and described her photography techniques while also answering a huge amount of questions being thrown her way.
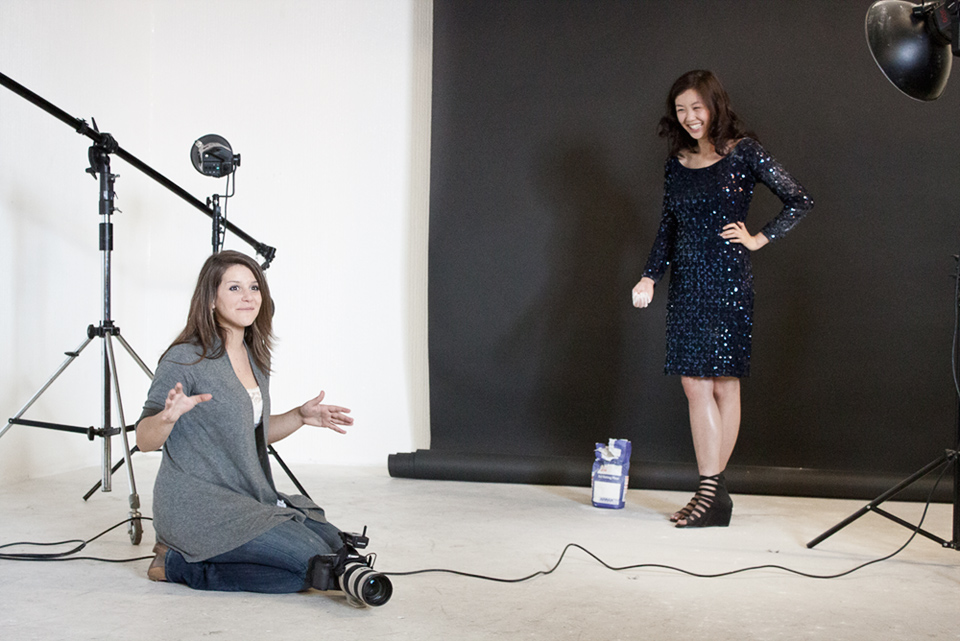
After a great talk we went down in the studio to get into action. We were lucky to have the wonderful model Nhuc Tran for the day. Dressed in a marvelous sequin dress, we had no idea what kind of a messy state we soon would be putting her in… Rosie started off by going through how she would perform the shot she had in mind.
Rosie discussed with Nhuc how she wanted her to pose to get the shot and also, and very importantly in this case, how to throw the flour around 😉
Thereafter it was the workshopers turn. At a personal 1 on 1 time with Rosie everybody got their turns to create their own shot in mind with Nhuc. She and Rosie really worked hard with the flour, throwing it absolutely everywhere to create in a lot of the cases a very fairytale feeling of smoke and mystic.
I must say… I’m truly impressed with what an intensity and acceptance Nhuc covered herself and everything around her in flour. And oh my, what a mess we created!
After the big flour fight we got another chance to create a completely different kind of shot with Nhuc posing on a sofa, keeping her feet on a huge cupcake. Although, there were of course no huge cupcake, but instead we used a bin to be in the place of the cupcake, later on shooting a naturally sized cupcake, and then later on in post-processing integrating the cupcake into the place of the bin. Clever!
After the shoots we had a post-processing session, viewing Rosie’s workflow on her computer via a projector while she described what she did, and why she did it. Thereafter, we all went to the local pub, had well deserved drinks, and finished off a wonderful day with lots of laughs, great business tips from Rosie, and also some heartfelt moments with stories from both Rosie’s life and our own.
I flew back home to Sweden the day after the workshop, completely filled with new ideas, wonderful memories, new acquaintances, and most importantly of all, a big bucket of inspiration. And if there was something I’d learned at the workshop, it was that to get the perfect shot, sometimes you just will have to really throw yourself into it….
For more shots and Rosie’s description of the day visit her blog!
Below is my image from my session with Nhuc. I wanted to create a dramatic image, contrasting with the beauty of the dress and to go in the opposite direction than the fairytale effect of the flour/smoke. The rest of the interpretation, is up to you guys.
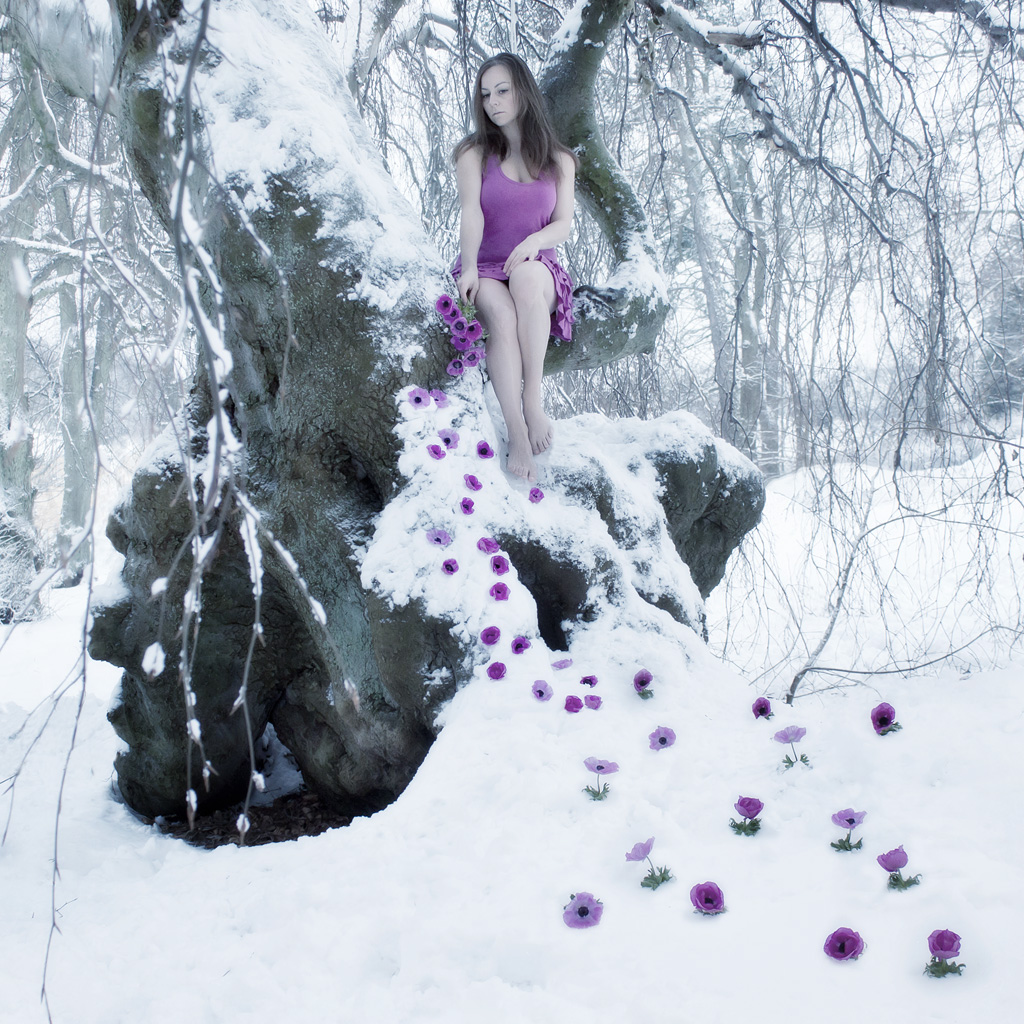
First of all it’s been the coldest start of a winter I’ve experienced since I moved to Gothenburg/Göteborg. With weeks of -10°C (already in November) I lay in my bed at night thinking about maaaybe putting on a summer’s dress and make good use of that cool tree a few blocks away… but then again… naaaah… let’s do that when the weather gets warmer… AND when there is a greater amount of snow. AND when both those things happen on a weekend so that I’m off work and can actually perform the shot in daylight. Yeah, right, like that combo was gonna happen any time soon.
“This weekend, it did.”
-1°C and two days of snowing. Off I went! Can’t let myself down now can I. This time I had my beloved Andreas with me as an assistant. Like he said: “How could I ever miss an opportunity like this, to watch you walk around barefooted in snow with a dress on in December, and with a chance that someone will see you!?” Aaaww he is nothing but helpful.
So trudging through knee high snow to get to the tree, setting up the equipment and trying not to get the tripod to fall over and drown my camera in wet snow, waiting for some curious people to walk away (no way I’m starting with them there), taking off my warm comfy clothes behind the tree hoping no new people would come by, climbing the tree in a pink and really short dress and big fluffy winter boots, placing my behind on a big snow covered branch and ooooooh my little hiney that was cold!!!!!! Quickly pulling off the fluffy boots and placing them behind the trunk, posing crazily to quickly get a behind-the-scenes-photo and then WHAM. Seriousness. Pose. Pose. Pose. Move flowers around. Pose. Pose. Flip the hair around. Pose. No, not like that, stretch the toes. Pose. Pose. Tilt head the other way. Pose. Done. Quickly pulling on boots again and crazy out of happiness getting stuck on another behind-the-scenes-shot. Jumping down from tree and get dressed quicker than Superman. And then I get the good news that another couple had very intensely been studying us from the road….
Ah, well *shrug*. That’s another day in the life of a “52 weeks” photographer 🙂
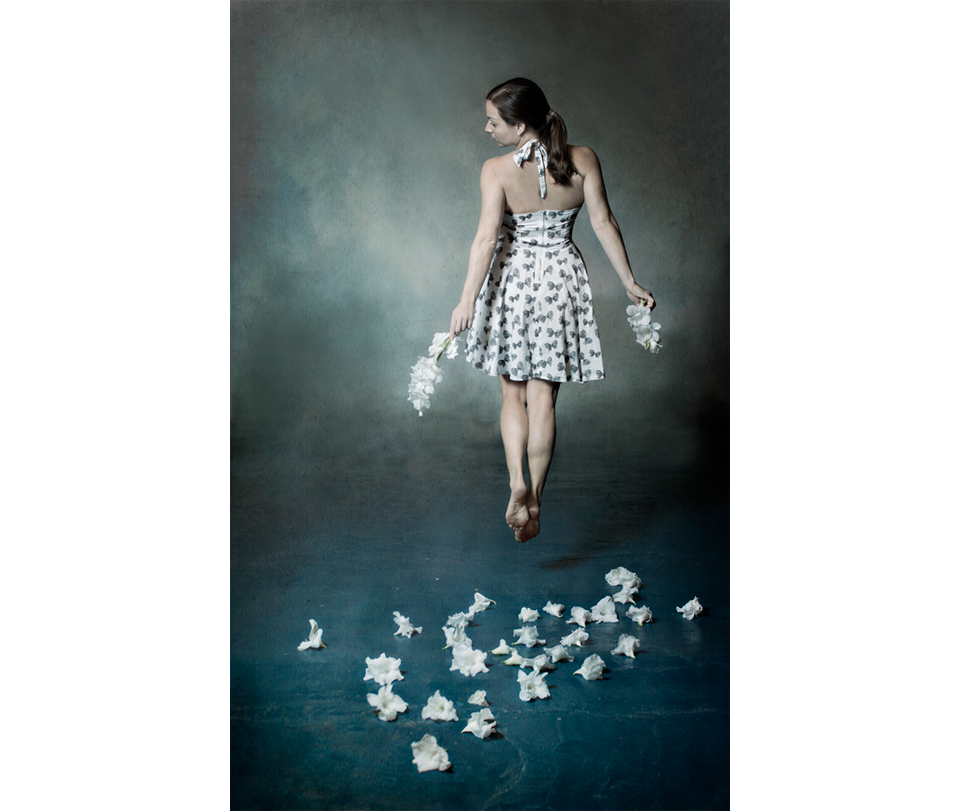
And so it was time to answer the next question from my dear readers, and this one is from the delightful Anders Bergkvist, who wrote me a comment in You ask, I tell – The Force of Nature where he wondered “How did you create the levitating impression of your first Flickr Explore image?”(above).
THE PROBLEM
If you’ve ever tried to make a proper jump you probably noticed that it’s difficult to get some distance from the ground at the same time making it look relaxed and without pulling your face. Unless you are perhaps a trained dancer or gymnast. And trust me… I’m certainly not…
LEVITATION AND MONTAGES
Levitation can of course be created in several ways. Like in all photography a good goal to create a realistic effect is to always capture as much as you can in camera, and try to avoid unnecessary manipulation. Since our mind and eyes are really good at noticing if something fishy is going on and if light and shadows don’t add up, it’s quite hard to put a montage together and there are a lot of things to be considered (more about that in a future post).
If I had been graceful enough (and believe me, I’m not) I would have performed this little jump and at the same time managed to pose and turn my torso slightly to create the body shape I was after. I tried, but I can assure you you wouldn’t be pleased with the result.
IMAGES NEEDED TO BE SHOT
Although for this shot I was a bit lucky, or at least I made it quite easy for myself since I didn’t want to levitate beyond belief. I just wanted to take off a little from the ground, like I was floating away. So I needed to shoot images with:
1) stretched legs and pointed toes
2) the shadow on the ground created by the jump
3) the upper body, relaxed and twisted the way I wanted with the face also relaxed and eyes on the ground
PHOTOSHOP PROCESS
After having shot two kinds of shots, one where I took a little jump trying to create good legs, and one kind where I was happy with my upper body, I opened my files in Photoshop. The two images that I’d chosen was put in two different layers on top of each other. Since the upper body layer needed to be placed a bit higher to match my waist, I moved this layer upwards until it fit (you can see how much I moved it in the 2nd image below if you look closely, on the line between the floor and the wall).
When this was done, I hid the “bad legs” from the upper body layer by painting black in my layermask, revealing the jumping legs from the layer below. So that you can this see better, in the 3rd image below I lowered the opacity of the upper body layer so that you can to see the two images together at once (I look a bit like a ghost).
To finish there were a few details that needed to be clone stamped or patched to make everything seemless in the dress, but that was about it for the levitation effect.
So by adding two or more different images into one, you can create the most incredible effects. Give it a try and have some fun with it!
Every now and then I get questions from my beloved blog followers, Flickr contacts, and/or friends about how I did something, why I did another thing, what my inspiration was, if I got caught doing that incredibly embarrasing thing… And I now think it’s time to start my You ask, I tell! And it’s just as simple as it sounds. You ask. And I will tell. Hopefully not too many embarrasing things 🙂
First up is a question I got from Hanna Jakobsson, the amazingly charming author of the blog Fröken Jakobssons Vänner, who wonders
“What did you do with the leaves in the tree image?”
And I’m pretty sure she is referring to The Force of Nature and how I processed the image to create the effect of the tree.
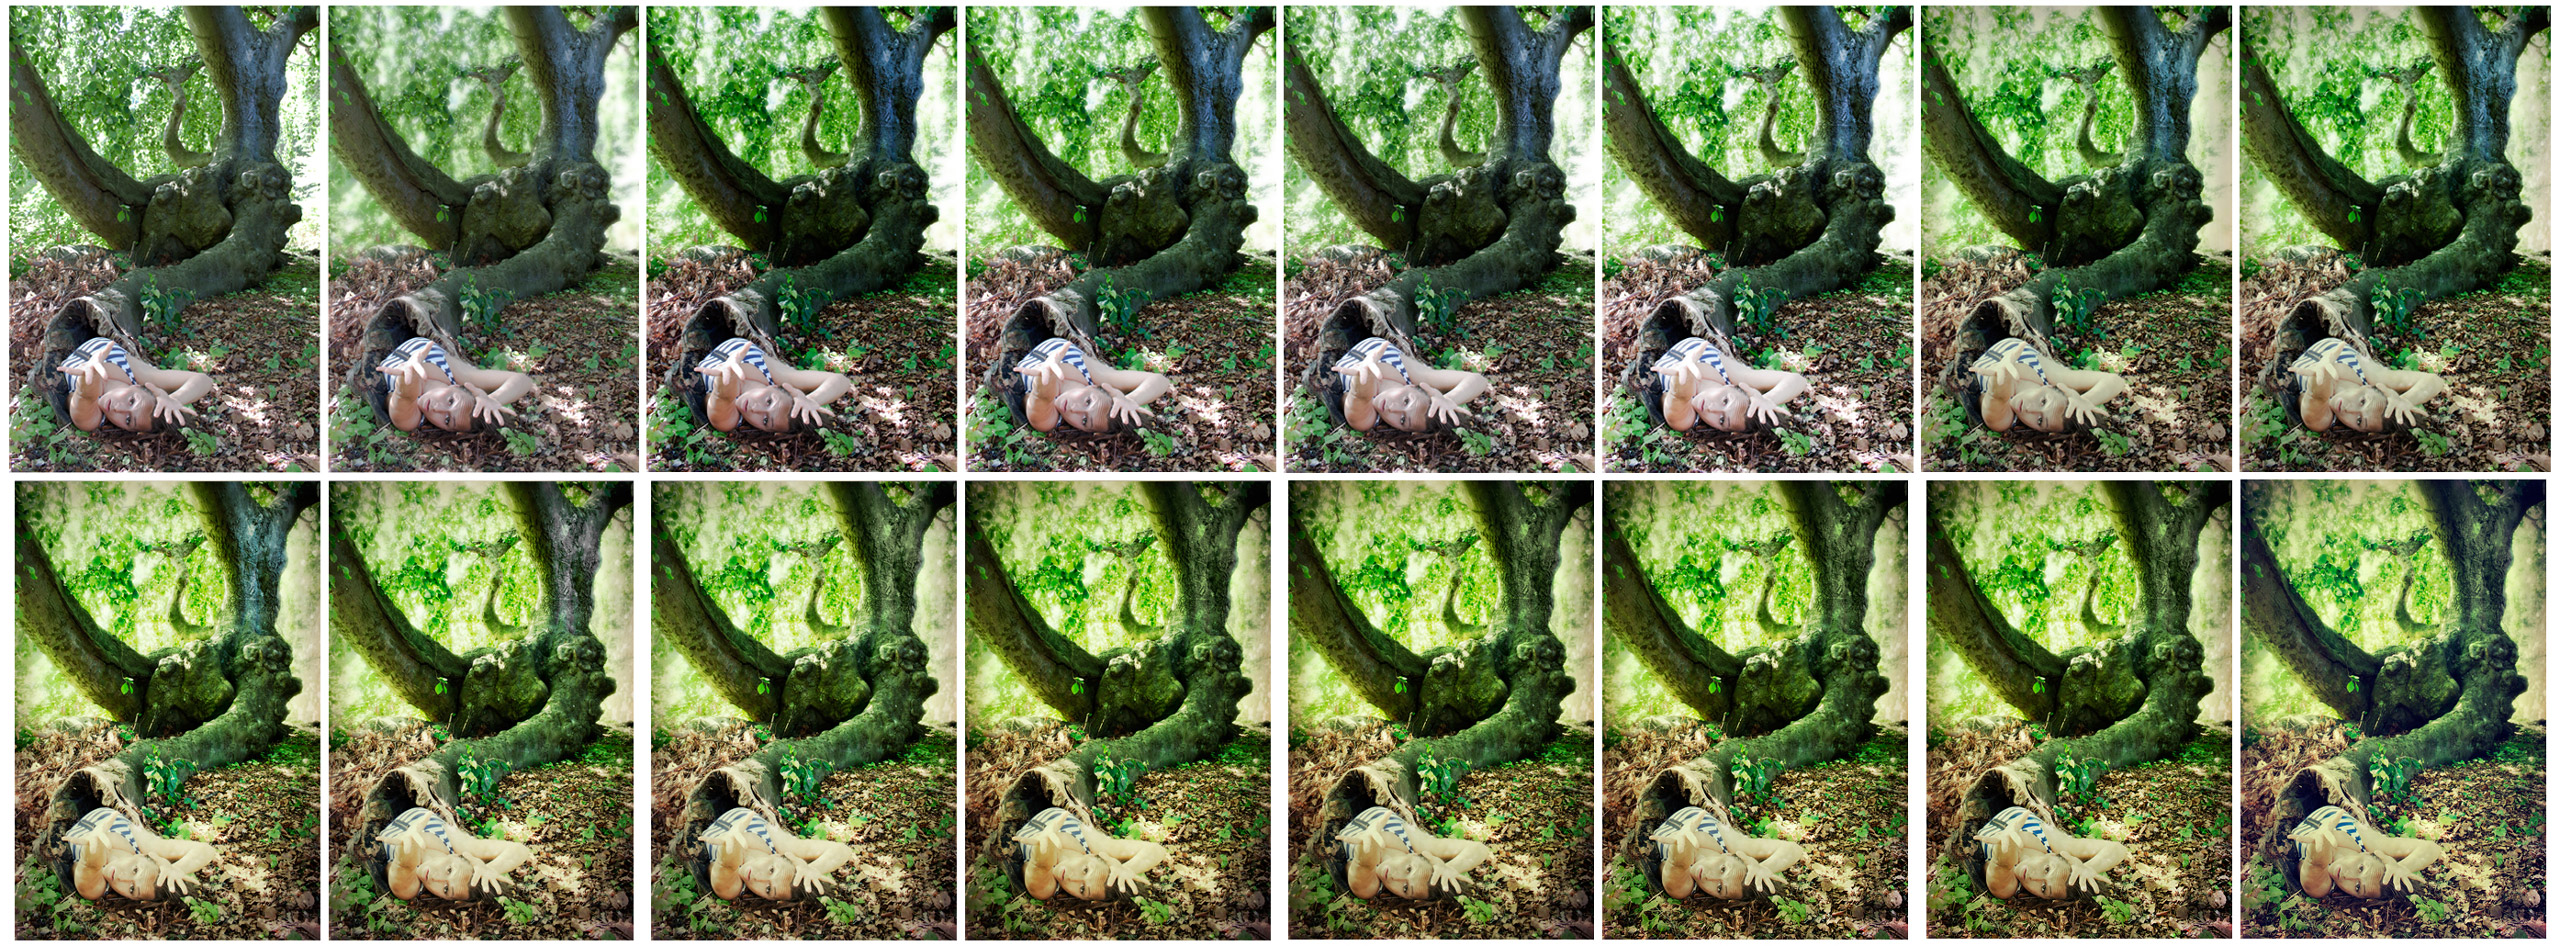
To leave an exact description of how I edited the tree would make this post far too long and I don’t want to bore you to death. It involved a lot of blurring, curves, levels, saturation changes, brushing, masking, and a few textures. And since I’m all about the visual, I’ve decided to show the process in 16 images.
The difference may be hard to see between some of the images (especially since they are quite small), but it’s there. It might be e.g. the color or saturation of the leaves, the color of different parts of the trunk, or a vignette. And since this image is not only about the tree I included the entire process, also showing the processing of the girl (me). Also, take a look atTo surrender to the Force of Nature for a Behind the Scenes of the same image.
And so it was time once more. Getting a year older. Some people say they no longer care for birthdays since they are now “so oooold”. Now THAT does not apply to me!! Well.. maybe the “so old” part, but certainly not the caring part. I just love birthdays! And my own is not exception. I’m told that I start talking about my birthday about a month in advance, not letting anybody miss that it’s coming up and behaving like a ten year old. Maybe I do, and I’m enjoying every little moment of it *giggle*. There is a Swedish saying, and it sure applies in this case, approximately like:
“You have as fun as you turn it in to”
So last weekend Andreas and I threw a party and thank you so much guys for coming and making it a fabulous time! It was a mixture of my and Andreas’s friends and you are all so adorable, kind, and fun! And on Sunday, “the big day”, I spent my birthday with an american brunch at Egg & Milk, a long autumn walk in the beaming sun and crisp fall air, and enjoying a gorgeous dinner, all in the company of my beloved Andreas. It was a beautiful day to remember, even when I turn 85 😉
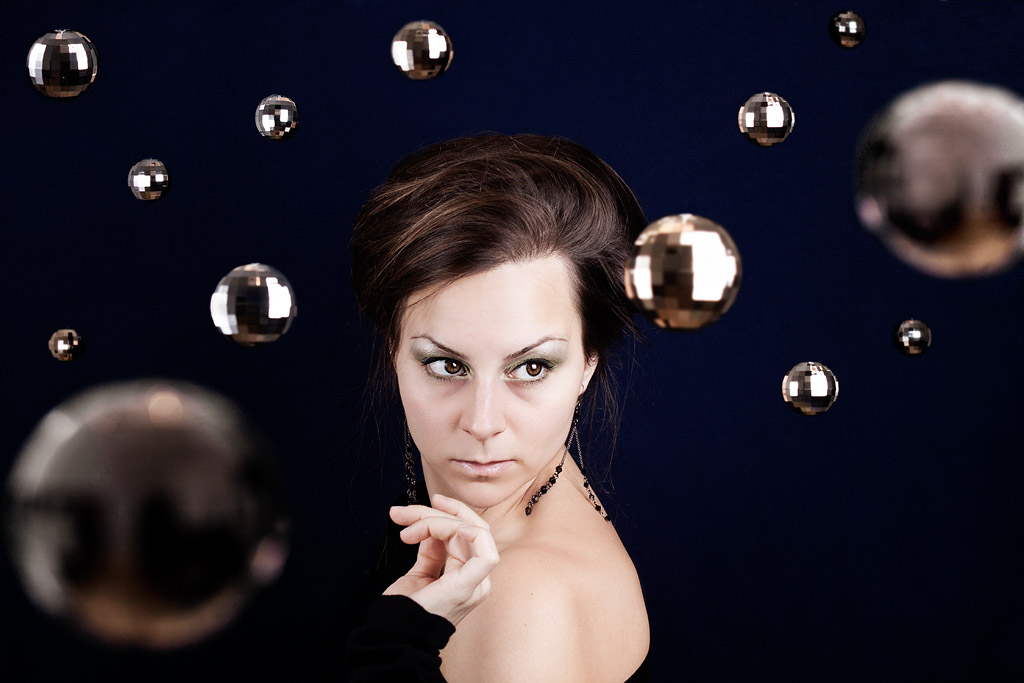
As a celebration I created my latest Flickr self portrait, which appropriately is called In da club (see above). And I think you understand why. Creating it I certainly got my groove on, putting on some awesome music and shakin’ ma booty until I was scared the neighbours were gonna knock on my door.
And after all that fun I had to be a bit more serious and place out the rest of the disco balls (unfortunately I only had one that I had to turn into several) that were going to be in the main image. It didn’t take that long actually. The long part was the post processing. But I just thought about the birthday and I did it with a happy face 🙂
To end this post I just would like to say A very happy birthday to the people out there having their birthdays today! I hope you all will have a wonderful time.
PS. I got a new brain with a memory from Andreas as a birthday present, and some power to go with it.
Really, I did!
He had stuffed a plastic brain with a 16 GB memory card and a new battery for my camera 🙂
“Sometimes you find the most remarkable creations out in the wild. And sometimes they look like something you’ve only seen in the movies.”
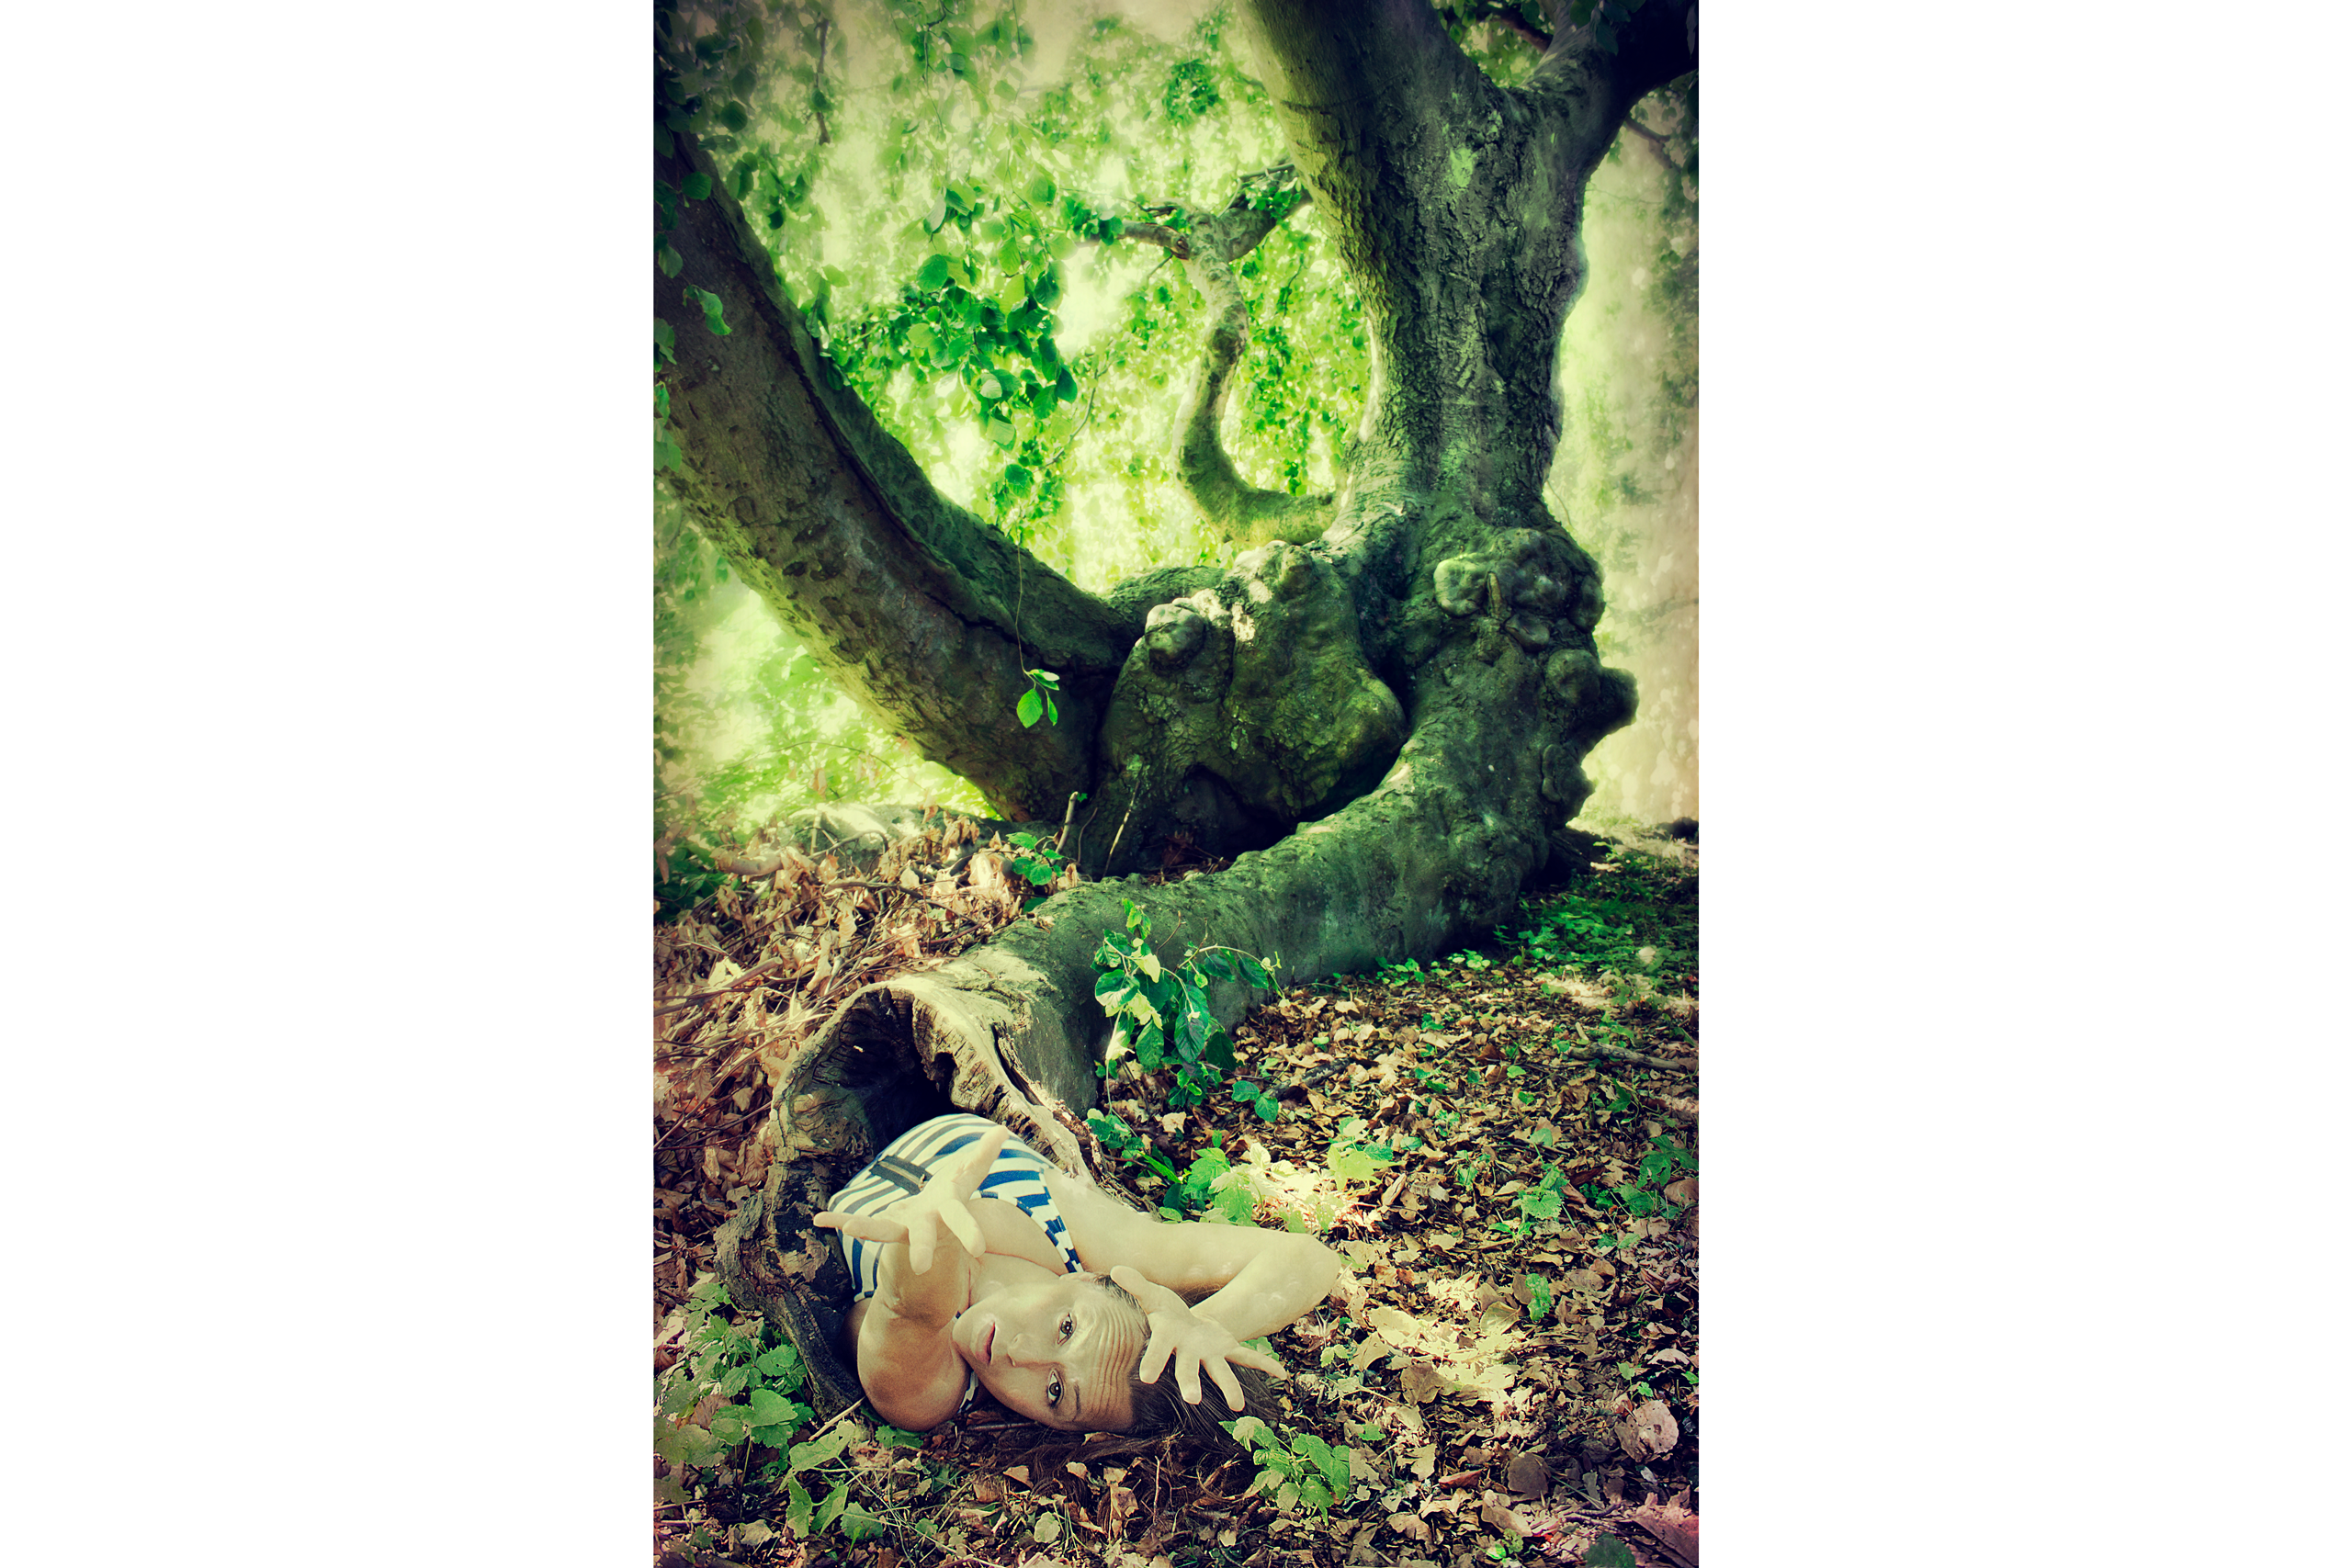
One summer’s day not that long ago I took my usual walk around my neighbourhood. When passing by a group of trees that I’ve always admired the branches of, being a bit unusual hanging down like vines, I all of a sudden decided to take a look if I could use them in any of my shots. And as I walked through them like passing green curtains, this remarkable tree appeared. With a huge trunk and gnarled branches it reminded me of a tree from a fantasy movie, and when I saw that it had a strange part of the stem stretching out like a long funnel I knew I was hooked.
“I got a flash from a scene in Harry Potter and the Prisoner of Azkaban when the Whomping Willow tries to drag Harry and friends down under it, and decided that I had to surrender to the force of nature. The tree funnel just had to suck me in…”
Although it was interestingly big for being a tree funnel, it didn’t really seem big enough for me to really fit in it. And also, I must admit that the content of the hole didn’t look inviting. At all. So after measuring it in my head and balancing pros and cons, I decided NOT to get my bare legs all muddy, scratched and yucky. And not to mention getting in contact with the rich habitat of insects living in there. With that decision I also had appointed myself to several hours more behind the computer for post-processing. But that would be worth it.
The first time I was there I was wearing a white dress. I knew it was going to get really dirty taking the shot, but I decided I didn’t care. Crawling around the stem trying to find the right pose, it sure did. I took some shots (or a lot) with my remote and headed back home.
Going through the shots later on I wasn’t happy with the light, it was far too bright in spots, creating blown out areas on my arms and hands. Meaning that I had to walk there again a few days later to redo the whole thing.
Then it took me quite some time cutting myself out correctly in Photoshop. Then I just moved the cutout into the right position, decreased the size of myself a bit to make it look more realistic and so that I didn’t look like a giant placed in front of the hole, and melted the images together.
And voilá! Nature won 🙂
The force of nature
Update November 6th 2010: The processing of this image is also covered within the Educational category. Go have a look!
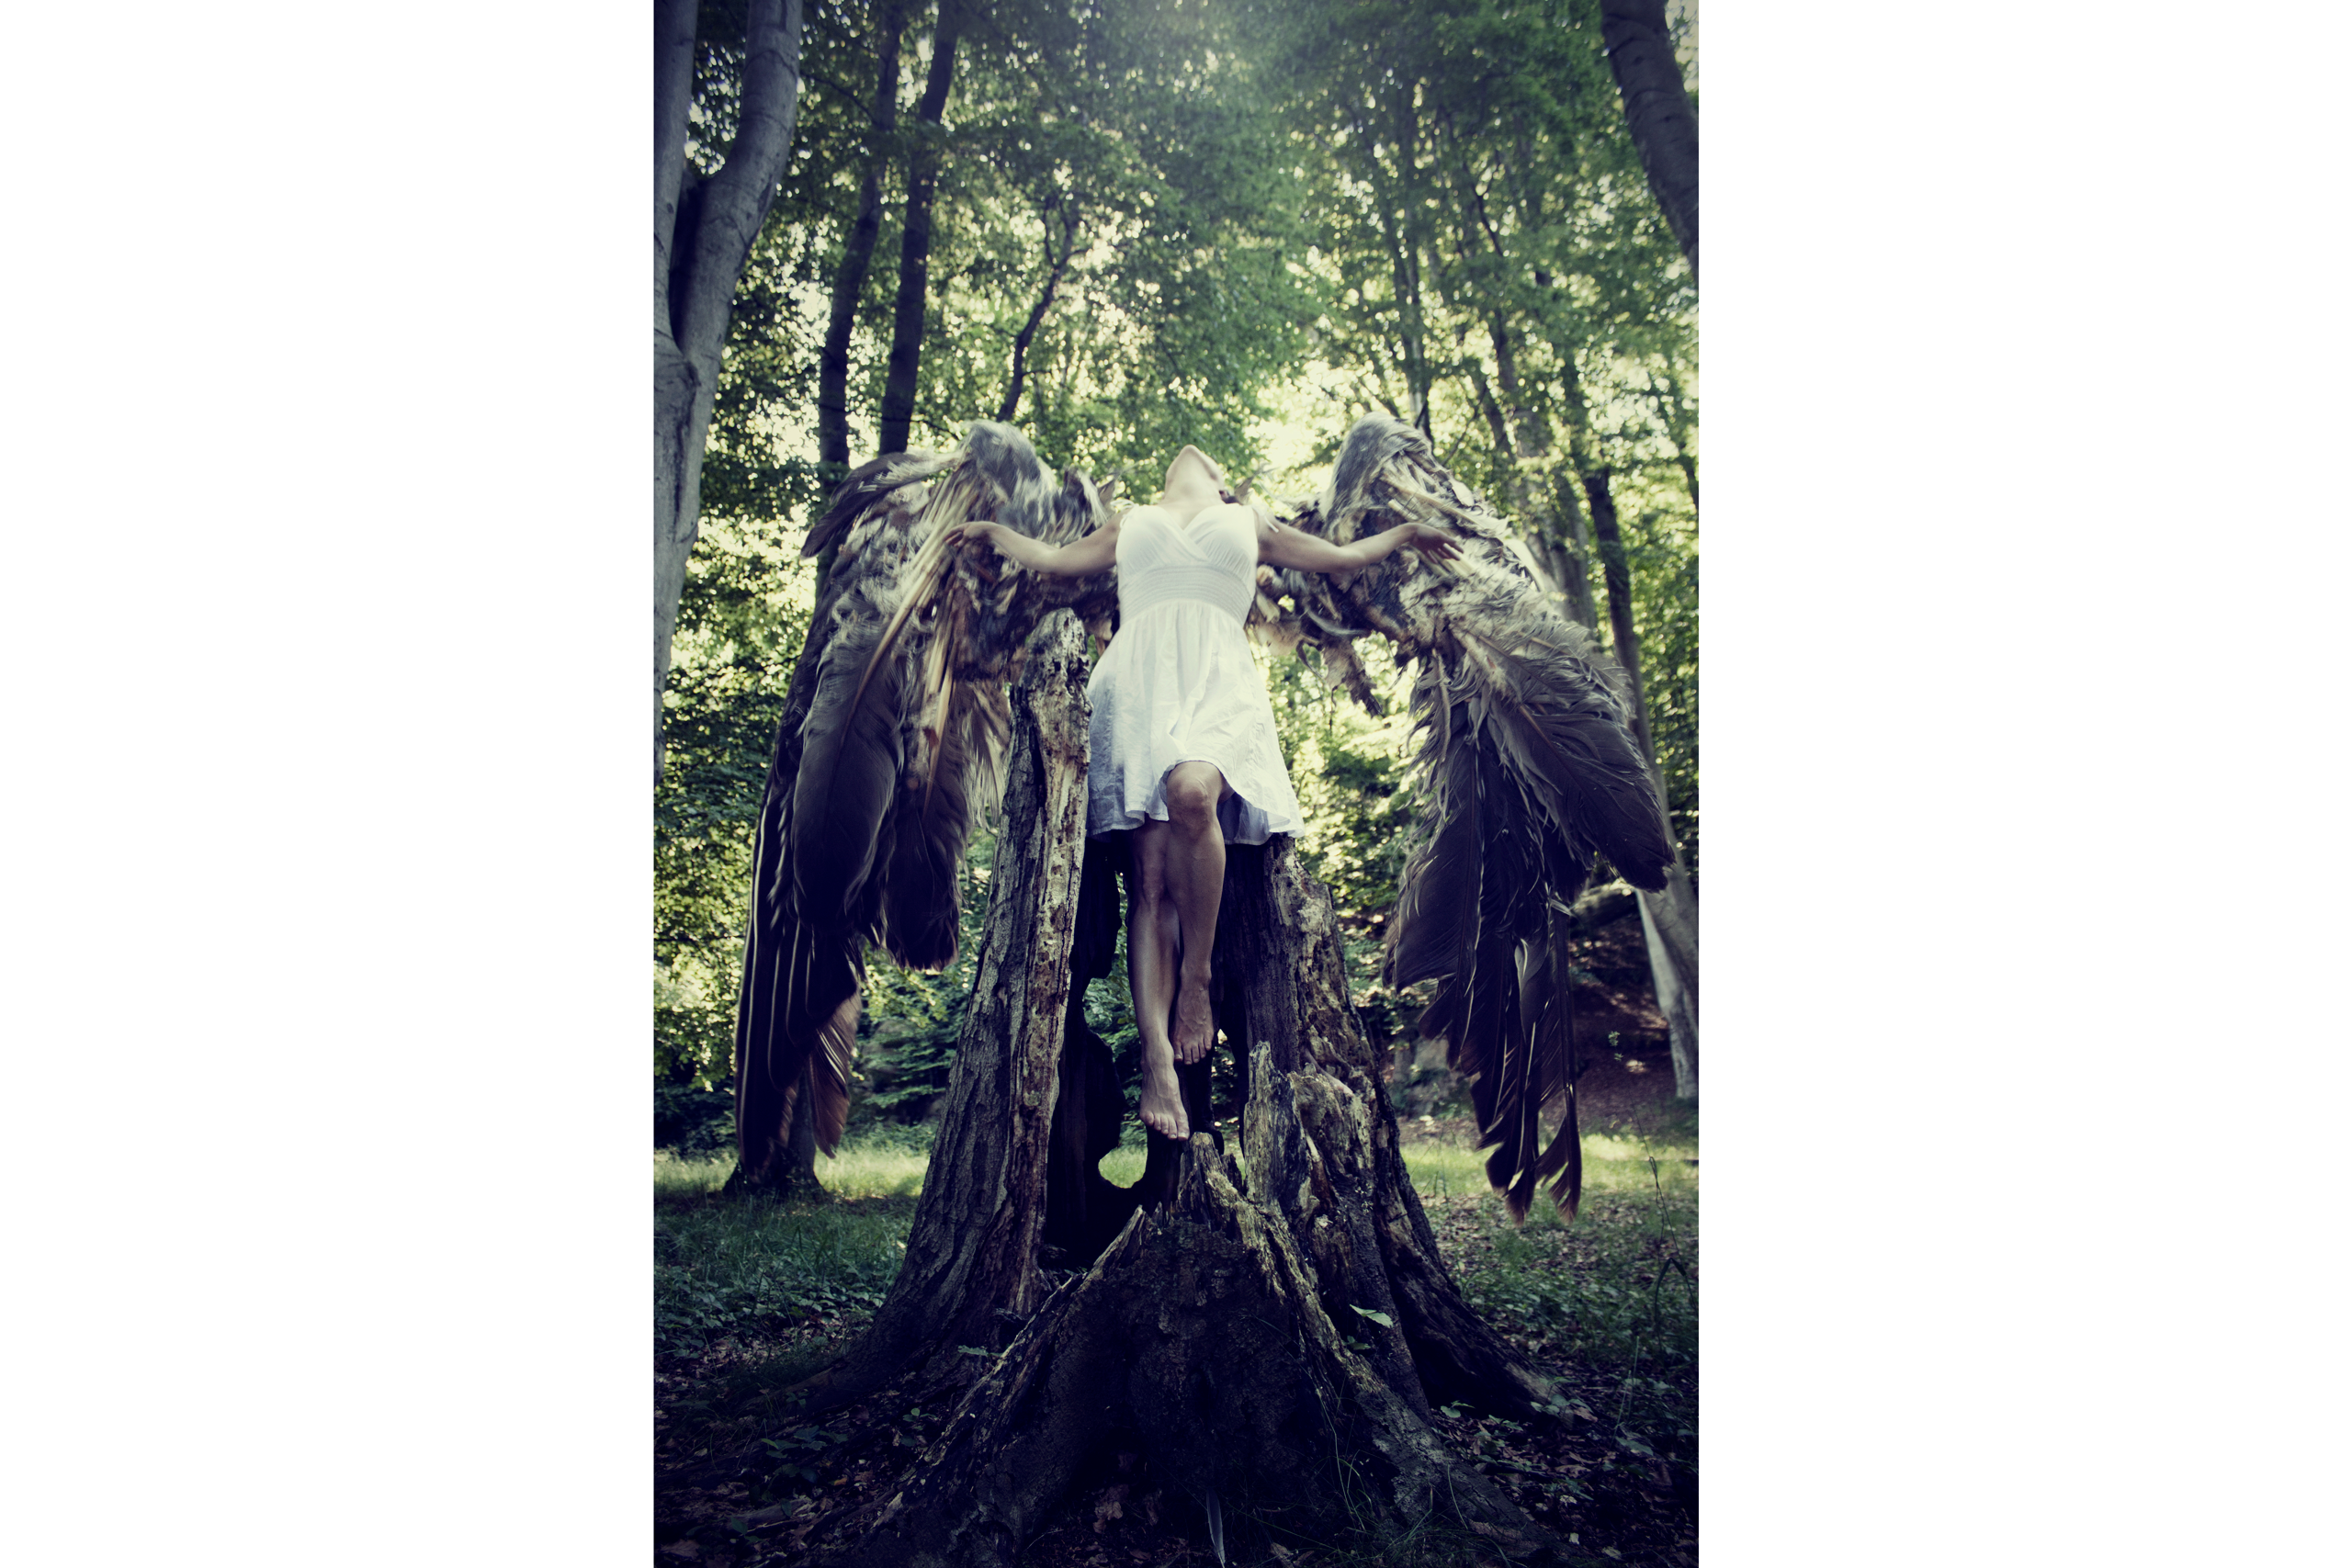
Welcome to my very first Behind the Scenes! “Broken Wings” derives from a summer’s day when I was taking a walk and my eyes got caught on these semi-decomposed bird wings among the leaves on the ground. And my instinct was of course that I had to wear them! Even though they would only fit a person 40 cm tall…
But since I’m a very stubborn girl I resisted the terrible stench reeking out from them, poked sticks under the “armpits” of the post-bird, and walked around the forest to find a good location.
Luckily it didn’t take long before I ran into this tree stump. The stump was big enough to fit me in it and also it provided a good spot for a levitation trick. Even though the wings were broken I had to at least try to fly with them.
Below, I’ll take you through both the SHOOTING PROCESS and the PHOTOSHOP PROCESS
SHOOTING PROCESS
So I needed three shots to be able to create a girl with wings trying to fly from a tree stump.
1) THE UPPER BODY AND ARMS I put my camera on my tripod, climbed the stump and flung around it in different positions, shooting myself using my Canon RC-1 wireless remote control. Climbed back down, ran to the camera to check on the poses and angles, and ran back to the stump to create better ones. This kept on until I felt like I had been through a tough yoga session and I had a shot I was happy with.
2) THE LEGS To create that levitation look I needed to lift my legs off the stump, not touching it at all with my legs. So back up on the stump I let myself into the same position as in the shot I had chosen, held my body up with my arms and released the legs.
3) THE WINGS were a lot trickier since they were so small (and also very fragile and risked of falling apart any second). Still having the wings on sticks, I first tried to get the correct perspective by putting the wings in the proper place behind the stump with the aim to increase their size later on. Although, I wasn’t happy with the details so instead I tried to lift them in front of and close to the camera. For this part it is very important to keep the same focal length even if the subject is moved around. I was happy with these images and I was done shooting.
“Let me make a note that all this was going on with people walking by… looking like they were going to call the police for them to come get that crazy bird woman running around in the woods with wings, looking like she would need a strait-jacket…“
PHOTOSHOP PROCESS
In Photoshop I combined the two images of the girl in the forest by using the first shot as a main layer, masking over “the wrong legs” and letting through the levitated legs from underneath with some modifications.
After that I cut out one wing at a time, pasted them on the forest image, corrected their positions and angles and let the arms and body of the girl in front of the wings.
For me the story is sad and moody, so I wanted the tone and color of the final image to convey that feeling. I worked with blues and darks and decreasing the yellow in the greens. Some more tweaking and adjustments and VOILÀ!
BROKEN WINGS
A lot of work, full of aches, and marked as a crazy bird woman, but at least I got to wear a dead bird’s wings…